Showing posts with label Craft. Show all posts

Friday, October 22, 2021

Tutorial: Pictures and Frames

 Hey there!

I decided to add in a tutorial for the Salem Witch Academy frames just in case there is someone who needs a little help with that.


Whether you have a frame or pictures first, it is helpful to know what size they are. So get out that ruler and measure the inner dimensions of the frame.

If your picture is larger than your frame you can use the insert for the template to cut the picture, or the glass if it didn't have the insert anymore.


The frame is slightly smaller than the picture.
 

I used the insert that came in the frame as a cutting template to make it the correct size.


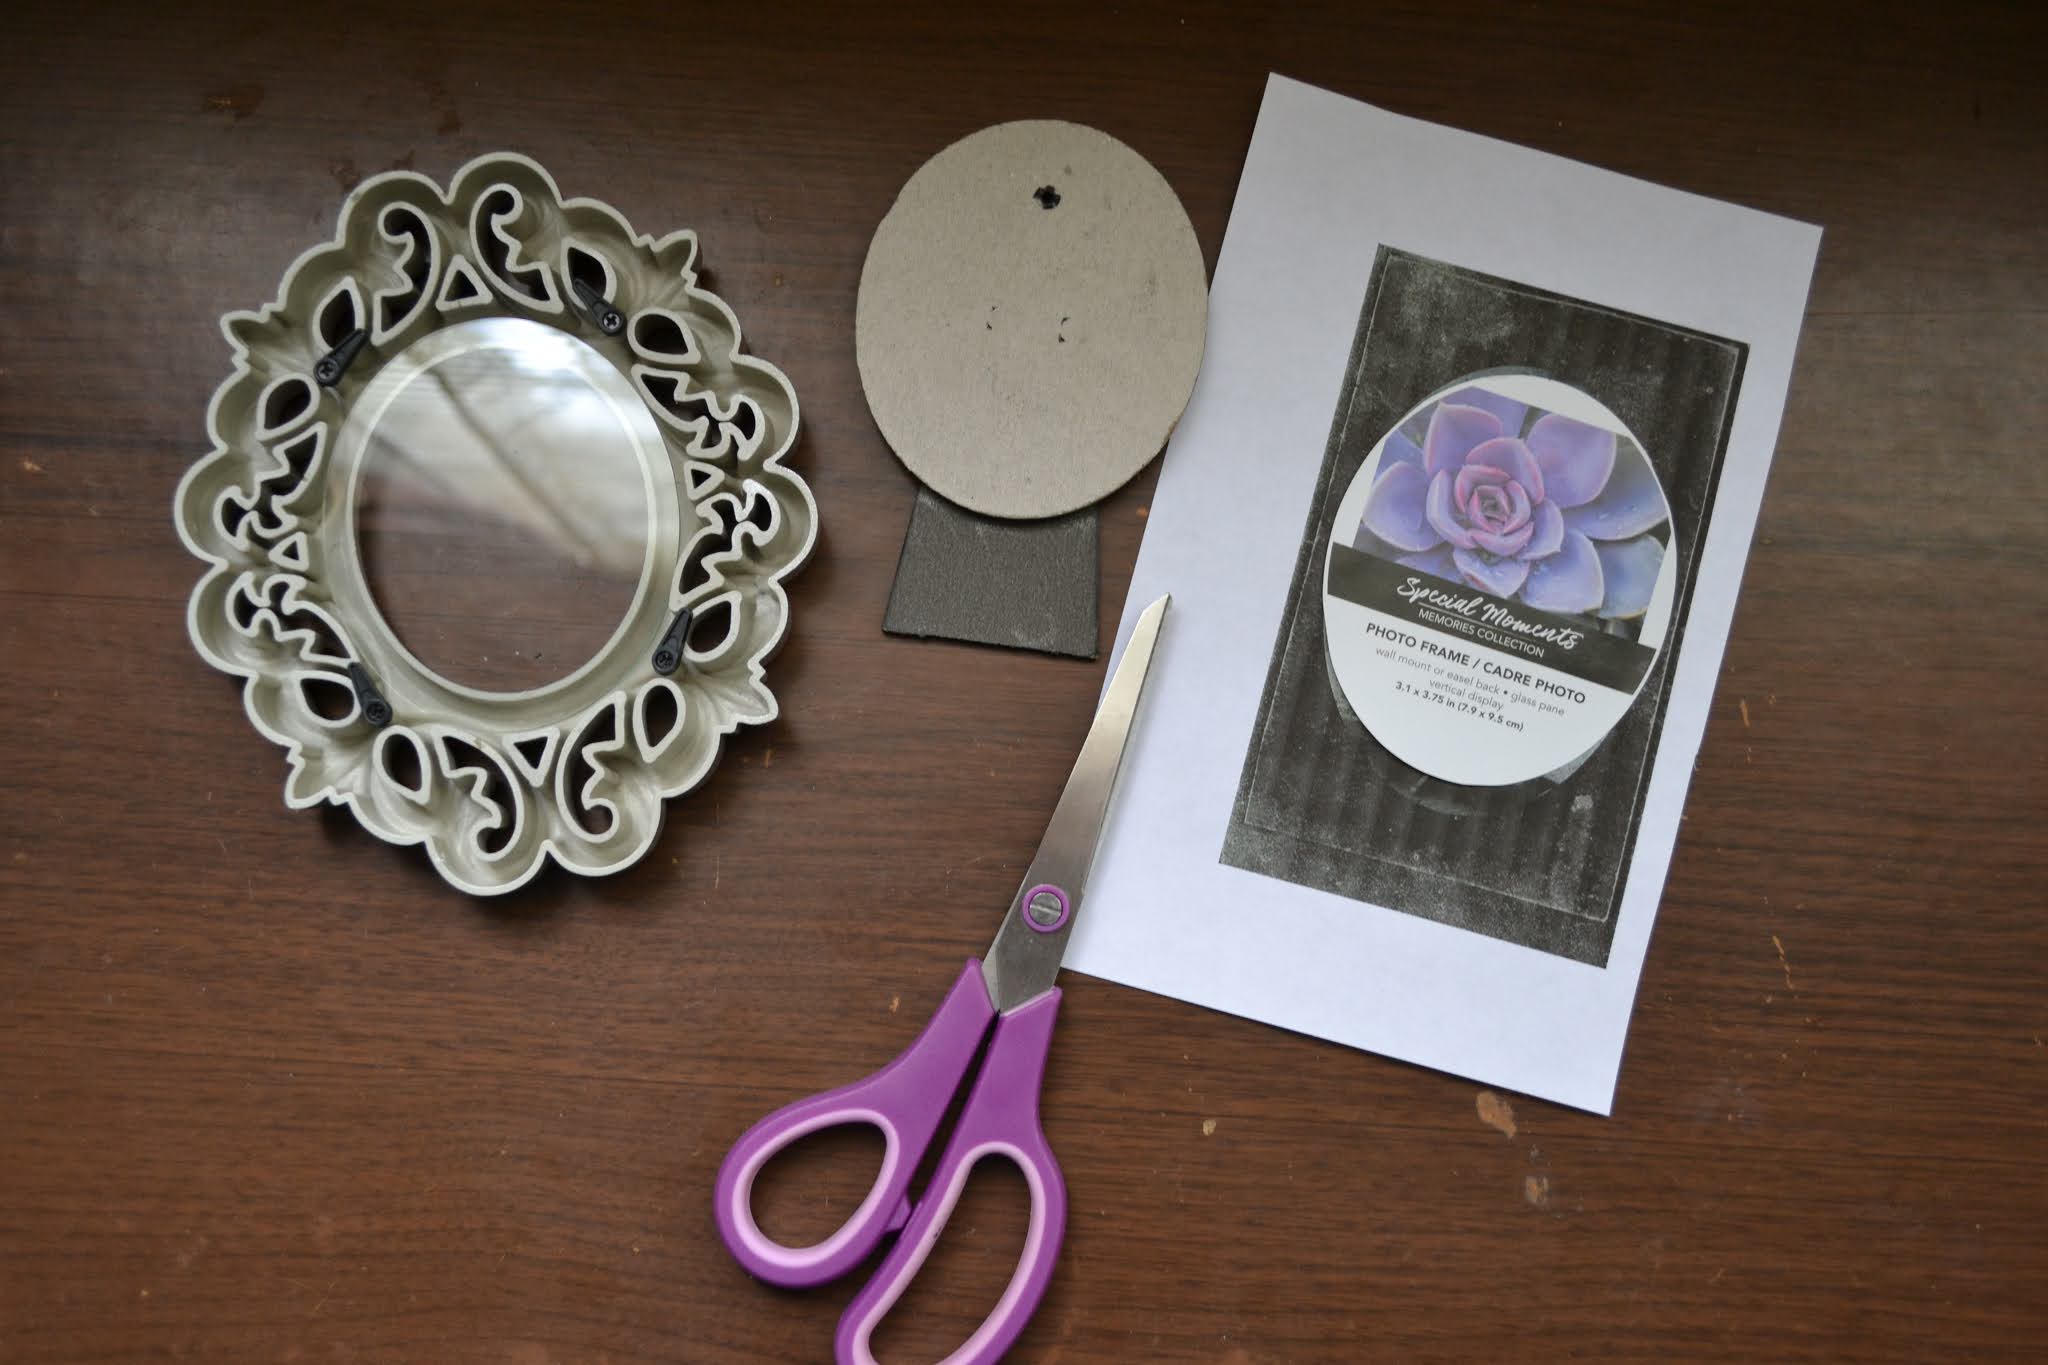
While the frame is all apart it's a great time to give the glass a quick clean and spray paint frame the desired color!
Then place the picture on the glass then add the cardboard and close the holder pins.


There it is. That one was easy! I actually took this one back apart and spray painted it black to match the theme.


Here is another example of an oval-shaped frame.
Repeat steps as above. 

Then I have one more example that has multiple pics in one frame.

The frames I used held three 4 x 6" pictures.

I cut the pictures to the correct size making them slightly larger than the 4 x 6" mat and used a glue stick to attach to the back of the cardboard frame. Then I painted the white mat black and inserted it back onto the glass and frame.

I had three pictures that fit stacked and three that were side by side. 


Happy October, Witches!
April
FriggleFraggle

Thursday, October 1, 2020

It's October Witches, Happy Halloween!

 Oh look, another glorious day...Makes me sick!


Ahh, October. That means Halloween and Halloween makes me Happy!

Get out your decorations (if you haven't already) and start decorating with me.

This month I will be posting what I'm doing in my house for Halloween along with tutorials and anything else that I can think to share.


I've already made a post about this year's theme The Salem Academy for Witches.

 I will be transforming my house into an alternate version of Hogwarts :)

Here is a sneak peek of my stairs.


Happy Halloween,

See ya tomorrow Witches!

April

FriggleFraggle


Tuesday, August 4, 2020

Fall is in the Air once again

I'm in the mood for Fall because I can feel it in the air already! Here in Southern Canada spring and autumn have been very short with winter lasting more than half the year. I know, it's just the beginning of August but I have felt it for a few weeks now and have started working on Halloween-ish items. Here's a sneak peek at a few that I will be listing in my Etsy shop soon. 


These are part of the Fortune Teller Series that I am working on.


Something a little more colorful...Candycorn!


I have a long list of things that I am going to create so stick around to see what's in store.

April
~FriggleFraggle~
Keep up with me on these links
Etsy
Instagram
Facebook
Tumblr
YouTube

Sunday, October 5, 2014

Halloween Books

Thirty-One Days of Halloween 
Day 5

Halloween Books


Happy 5th day of Halloween!
Only 25 days left until Halloween.

Made some Halloween books. What do you think?

Spider Book


Skeleton Book


These were just a few. I made more but need to take some pics. I'll be updating within the next few days with more photos.
Is anyone interested in a tutorial?

Ciao
April
~FriggleFraggle~
Follow me on Facebook

Saturday, February 22, 2014

DIY Jewelry Diplay

DIY Jewelry Display made from things you have around your house

 I like reusing things that might have ended up in the landfill if it hadn't been saved. I like jewelry. I make jewelry there for I have lots of it. I needed a place to display my bracelets not only for when I am not wearing them but for when I do a craft show.

Here is a tutorial on how to make a jewelry display made from things around your house.

Materials:
Tube from wrapping paper, foil, plastic wrap, paper towel and toilet paper
  *You will need 4 sizes -15",  12", 6" and 3"
Piece of sturdy cardboard - 9 1/2" x 5"
Exact o knife
Scissors
Pen
Hot glue gun and glue sticks
Chop Sticks
Fabric


Start with a sturdy cardboard base, cover the top in your choice of fabric leaving just enough fabric to wrap around and hot glue to the bottom. Make sure you do not make it bulky.
Some supplies

Cut your tubes to make the following sizes: 15", 12", 6" and 3". The 15 and 12 will be used as the top and the 6 and 3 used as the base to hold them up.

Cut tubes and connect
Cut a slit in the center of the 15 and 12  tubes just long enough to slide the smaller ones in. The 15" will have the 6" as a base and the 12" will have the 3" as a base.

Ready for fabric
Cover the smaller base tubes with fabric first wrapping around then securing with hot glue. Then move on to the longer tube trimming where necessary. Leave about 1/4" extra on the ends so you can fold the fabric over and glue to the inside.

Fabric covered
Using a pen hold your tube end on the back of the fabric and trace around it making a circle to cover the end. Apply a small amount of glue around the tube and place it down on the table on the circle. Trim the extra bits.
Trace and cut circle for end cap

Glue end for cover

Cover ends

Using a measuring tape, line up where you would like to position your tubes, draw a circle around them and trim the fabric in the area just inside of the circle you made.

Trim area for attaching base
For sturdiness I added a wooden chopstick to the center of each post having it go through the bottom and trim so it is flat. Hot glue the chopstick and the tube and place on the spots you trimmed.

Add chopsticks for support
There it is! You have made your own jewelry display out of materials you had around your house! Way to go you! Re-purposing always makes me feel good :)
Finished Product
Now to show off your bangles and bracelets at home or in a craft show.
Front View

Side View

Back View
Thanks for stopping by. I will be adding many more repurposing and DIY craft tutorials. Follow me to keep up. Also, if you  have any questions I will be happy to answer them.

Ciao,  April
~FriggleFraggle~

Thursday, April 11, 2013

Harry Potter Madness

Harry Potter Madness

I have been working on some new ideas to go along with the Harry Potter Theme.
I am having so much fun making these.

Here are some Harry Potter Magic Wand Pencils that I made the other day..
Here is what it will look like when you receive it in the mail :)
You can order in my shop here:

Also made some Harry Potter Jewelry
This is a Harry Potter Winged Flying Key Necklace

and some more wands....
These have a Crystal Ball on the end .

Mixed magic wands
Then there is the Very Popular Harry Potter Magic Wands

We have read all of the books and watched all of the movies now. Some the kids have repeated.
Thinking of hosting a Harry Potter Party later this year :)

How do you get your Harry on?
~FriggleFraggle~

Saturday, February 9, 2013

Valentine Heart Wand


Valentine Heart Wand

https://www.etsy.com/listing/123161619/valentine-heart-wand-heart-wand-magic

Valentine Heart Wand - Heart Wand - Magic Wand

Lovely little magic wand for casting fun Love Spells. Embellished with Ribbons and Lacey Yarns. 

You will receive one 8" Heart wand of your choice in a long jewelry box.

Lots of colors to choose from. Just leave a note when you check out with your color preference or I will randomly select a color for you :)
*Red Velvet
*Pink Velvet
*Red Glitter
*Pink Glitter

Each one is Handmade by FriggleFraggle, so no two will be the same. Each having its own personality with the paint and swirls.

I always welcome questions, so please ask them before you purchase! :)

~FriggleFraggle~

Like me on Facebook .....
http://www.facebook.com/pages/Friggle-Fraggle/195896730486054

Tutorial: Pictures and Frames

 Hey there! I decided to add in a tutorial for the Salem Witch Academy frames just in case there is someone who needs a little help with tha...