Hey there!
I decided to add in a tutorial for the Salem Witch Academy frames just in case there is someone who needs a little help with that.
Whether you have a frame or pictures first, it is helpful to know what size they are. So get out that ruler and measure the inner dimensions of the frame.
If your picture is larger than your frame you can use the insert for the template to cut the picture, or the glass if it didn't have the insert anymore.

The frame is slightly smaller than the picture.
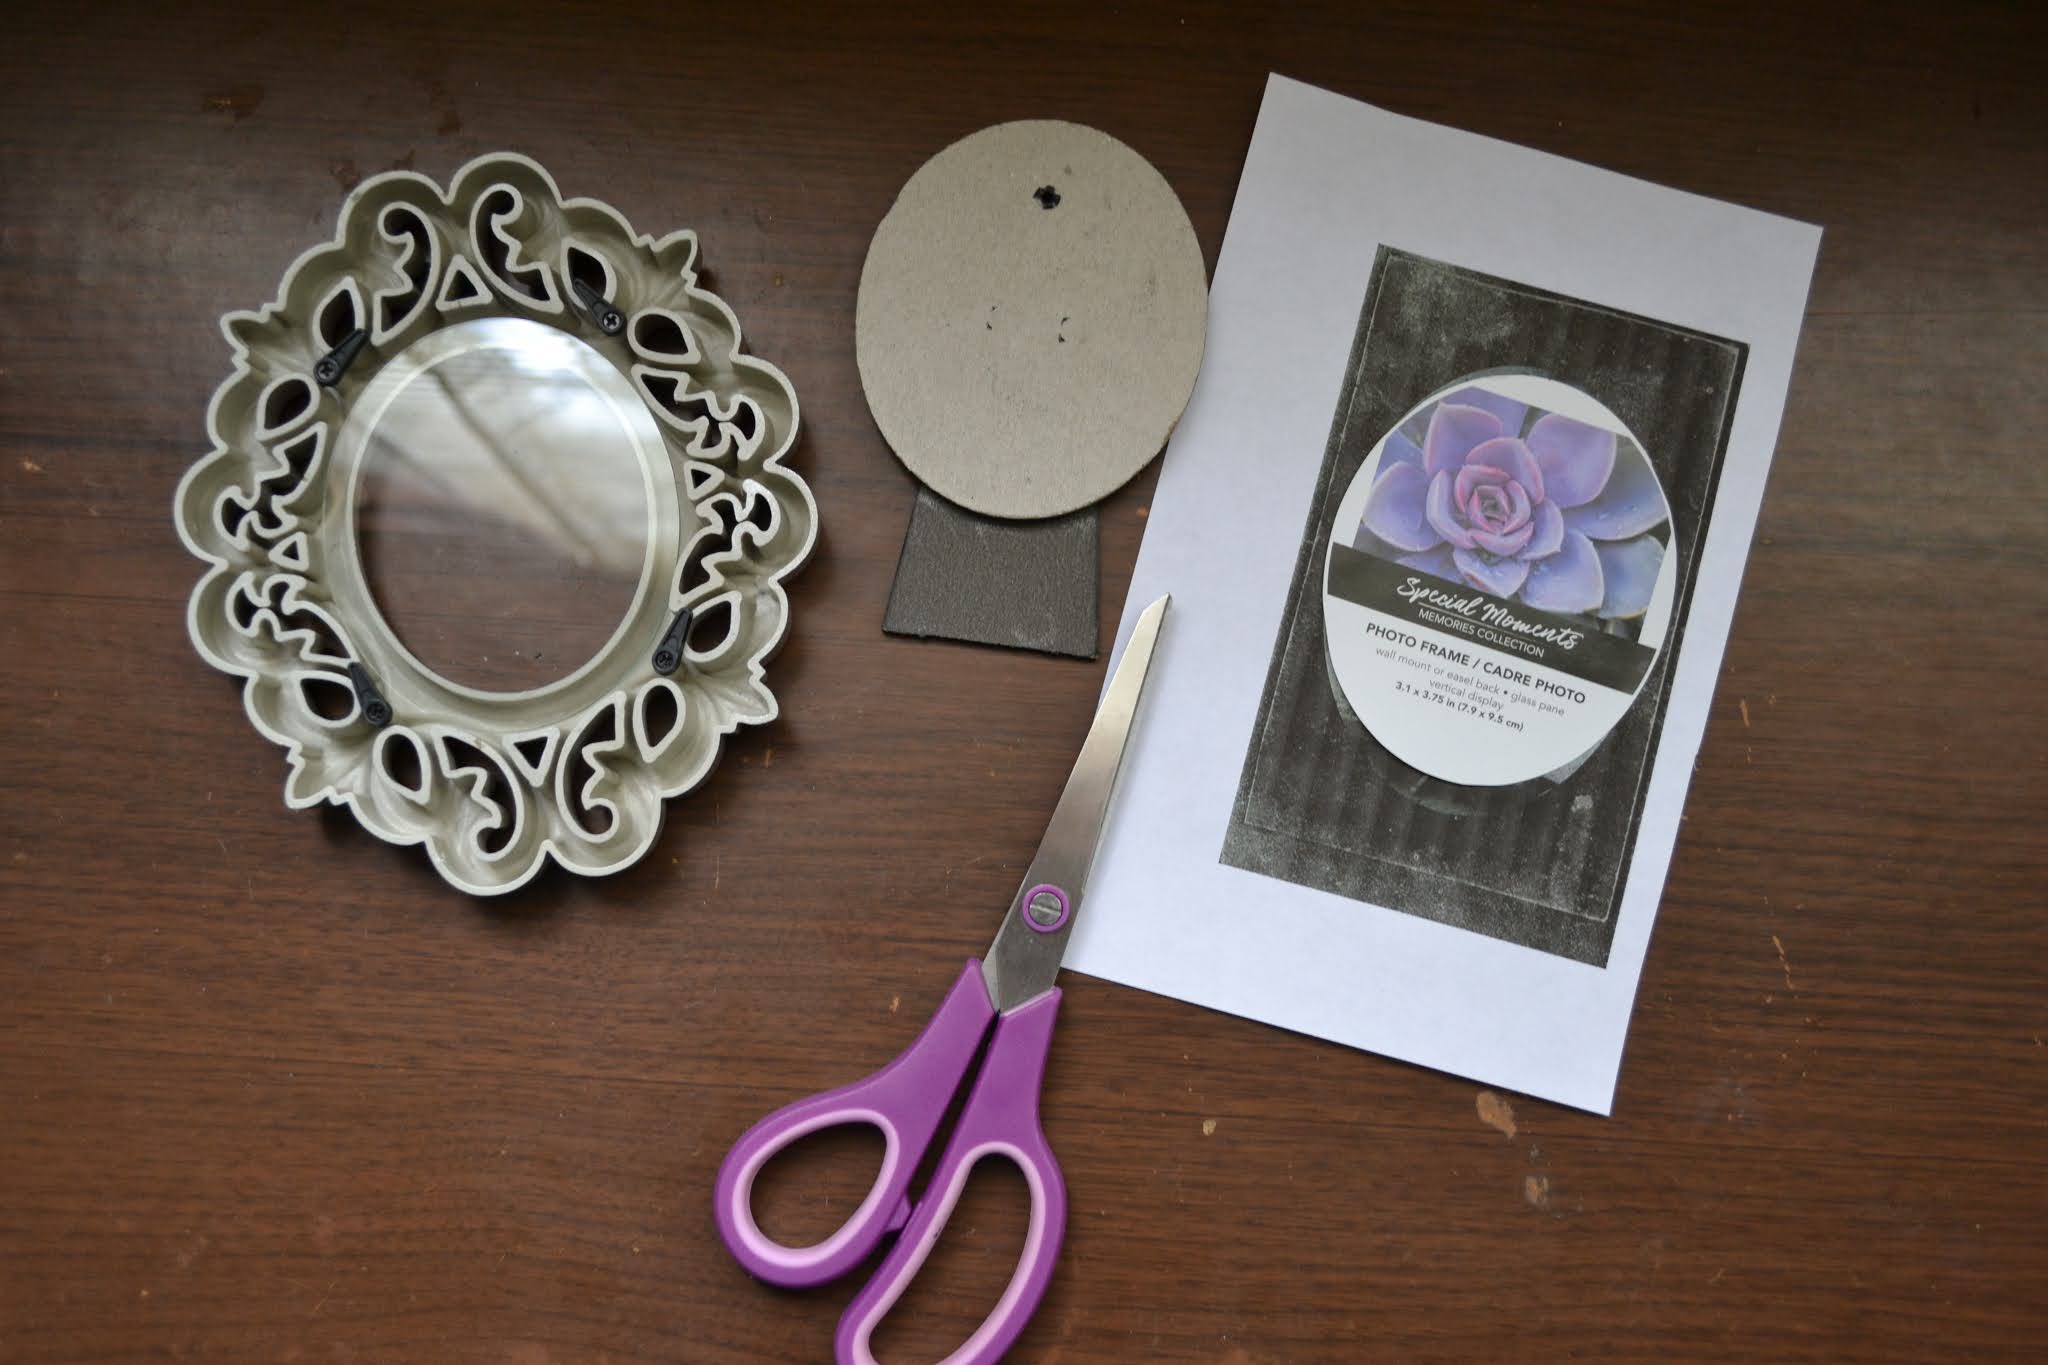
I used the insert that came in the frame as a cutting template to make it the correct size.

While the frame is all apart it's a great time to give the glass a quick clean and spray paint frame the desired color!
Then place the picture on the glass then add the cardboard and close the holder pins.

There it is. That one was easy! I actually took this one back apart and spray painted it black to match the theme.


Here is another example of an oval-shaped frame.
Repeat steps as above.
Then I have one more example that has multiple pics in one frame.

The frames I used held three 4 x 6" pictures.


I had three pictures that fit stacked and three that were side by side.

Happy October, Witches!
April
FriggleFraggle


