Showing posts with label DIY. Show all posts

Thursday, October 1, 2020

It's October Witches, Happy Halloween!

 Oh look, another glorious day...Makes me sick!


Ahh, October. That means Halloween and Halloween makes me Happy!

Get out your decorations (if you haven't already) and start decorating with me.

This month I will be posting what I'm doing in my house for Halloween along with tutorials and anything else that I can think to share.


I've already made a post about this year's theme The Salem Academy for Witches.

 I will be transforming my house into an alternate version of Hogwarts :)

Here is a sneak peek of my stairs.


Happy Halloween,

See ya tomorrow Witches!

April

FriggleFraggle


Saturday, February 22, 2014

DIY Jewelry Diplay

DIY Jewelry Display made from things you have around your house

 I like reusing things that might have ended up in the landfill if it hadn't been saved. I like jewelry. I make jewelry there for I have lots of it. I needed a place to display my bracelets not only for when I am not wearing them but for when I do a craft show.

Here is a tutorial on how to make a jewelry display made from things around your house.

Materials:
Tube from wrapping paper, foil, plastic wrap, paper towel and toilet paper
  *You will need 4 sizes -15",  12", 6" and 3"
Piece of sturdy cardboard - 9 1/2" x 5"
Exact o knife
Scissors
Pen
Hot glue gun and glue sticks
Chop Sticks
Fabric


Start with a sturdy cardboard base, cover the top in your choice of fabric leaving just enough fabric to wrap around and hot glue to the bottom. Make sure you do not make it bulky.
Some supplies

Cut your tubes to make the following sizes: 15", 12", 6" and 3". The 15 and 12 will be used as the top and the 6 and 3 used as the base to hold them up.

Cut tubes and connect
Cut a slit in the center of the 15 and 12  tubes just long enough to slide the smaller ones in. The 15" will have the 6" as a base and the 12" will have the 3" as a base.

Ready for fabric
Cover the smaller base tubes with fabric first wrapping around then securing with hot glue. Then move on to the longer tube trimming where necessary. Leave about 1/4" extra on the ends so you can fold the fabric over and glue to the inside.

Fabric covered
Using a pen hold your tube end on the back of the fabric and trace around it making a circle to cover the end. Apply a small amount of glue around the tube and place it down on the table on the circle. Trim the extra bits.
Trace and cut circle for end cap

Glue end for cover

Cover ends

Using a measuring tape, line up where you would like to position your tubes, draw a circle around them and trim the fabric in the area just inside of the circle you made.

Trim area for attaching base
For sturdiness I added a wooden chopstick to the center of each post having it go through the bottom and trim so it is flat. Hot glue the chopstick and the tube and place on the spots you trimmed.

Add chopsticks for support
There it is! You have made your own jewelry display out of materials you had around your house! Way to go you! Re-purposing always makes me feel good :)
Finished Product
Now to show off your bangles and bracelets at home or in a craft show.
Front View

Side View

Back View
Thanks for stopping by. I will be adding many more repurposing and DIY craft tutorials. Follow me to keep up. Also, if you  have any questions I will be happy to answer them.

Ciao,  April
~FriggleFraggle~

Monday, January 13, 2014

New Year Tree

How long do you keep up your Christmas Tree?

We put our Christmas tree up the weekend after Thanksgiving. That has been a tradition that my mother and her mother did, so I followed it. We play Christmas music and watch Christmas movies until Christmas then I don't want to hear or see them again until the following Thanksgiving weekend. There are only so many Christmas songs and you can only listen to them so many times a year!

I know a lady that starts her Christmas about the same time places like Walmart starts putting out Christmas decorations...in AUGUST. Blah... What about Halloween and Thanksgiving. I love Halloween! I decorate for Halloween longer than I do for Christmas because it can be so different each year. Halloween in my house runs into thanksgiving. I just take the spooky stuff out of the decorations and leave up the fall looking things.

Back to the Christmas tree... This year the kids decorated the tree all on their own, completely without my help. This is the first year. Usually we start out all decorating and I end up finishing in by myself because they got interested in other things. This year I was on the couch with a heating pad watching them decorate. I so wanted to get up and help them but they assured me that they could do it and that I should rest.- I had pulled a muscle in my arm/shoulder/back area and I was in a lot of pain at the time. I was so proud of them and a little sad at the same time. They are getting so big and don't need Mama as much.

Well, Christmas was over and I was ready to take down the tree. We had company coming to stay with us for a week and I wanted to get the tree down and out of the way so I wouldn't have to mess with it while trying to entertain the guests. The kids convinced me to keep it up until after they left which was after the new year. So we came up with a good solution.....a New Year's Tree!

I printed out some clocks on cardstock and placed them on the tree. Also glued some to old cd's that I had kept for craft projects.

Our's didn't look like this but here are some cute ideas for a New Year's Tree for the future.
I got this image from pinterest. This is the blog it came from.

Just google printable clock faces and print on cardstock. Glue to old cd's if you would like.

I love clocks so I will be using them more throughout the year as well :)

Sunday, May 19, 2013

April Showers Bring May Flowers

April Showers Bring May Flowers

This saying is very true at my house. May is very colorful here. We have the sweetest pink roses blooming right now. The smell is so wonderfully fragrant. I wish I could just bottle it up for later in they year! I am unsure of the variety, they were here when we moved in.
We also have pink, red and white peonies. Red Roses, wild roses, sweet william in a variety of shades.
The mountain laurel is in bloom along with the purple wisteria and Irises.

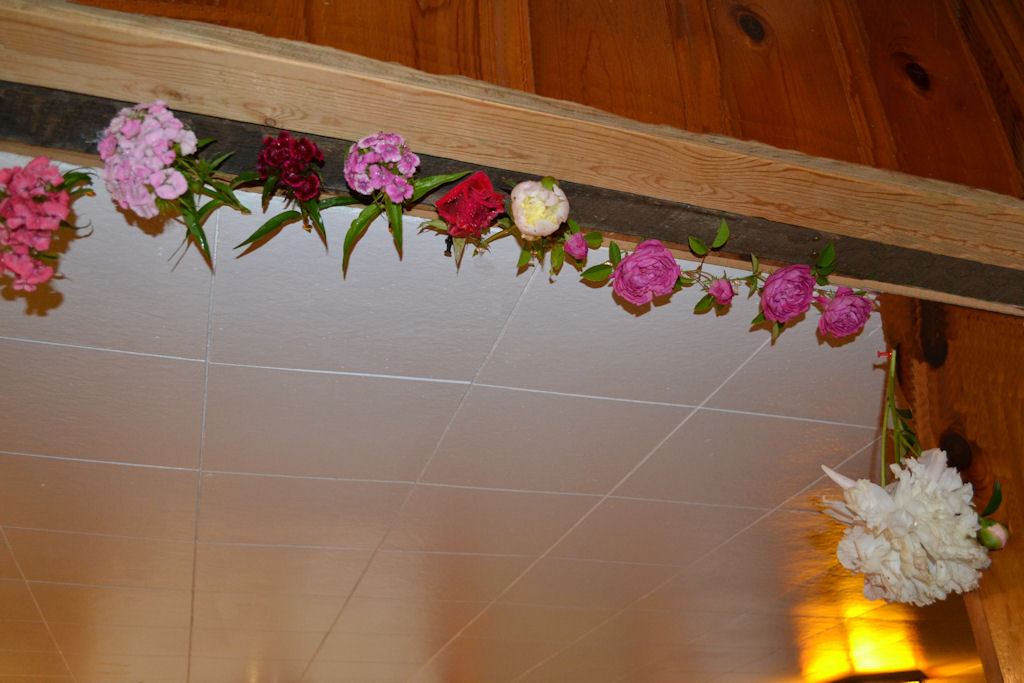
We have had a few days of rain and the petals started falling off of some of the flowers so I decided to see if I could capture a few in their beauty by drying them. I will take pictures of the flowers on the plants when the rain lets up.

 Sweet William and Red Rose
 The most wonderful smelling Rose
white peonies, pink and red roses and sweet williams


Hopefully they will dry nicely. Every time I walk near that spot in the house it smells like a rose garden!

April

Thursday, April 11, 2013

Harry Potter Madness

Harry Potter Madness

I have been working on some new ideas to go along with the Harry Potter Theme.
I am having so much fun making these.

Here are some Harry Potter Magic Wand Pencils that I made the other day..
Here is what it will look like when you receive it in the mail :)
You can order in my shop here:

Also made some Harry Potter Jewelry
This is a Harry Potter Winged Flying Key Necklace

and some more wands....
These have a Crystal Ball on the end .

Mixed magic wands
Then there is the Very Popular Harry Potter Magic Wands

We have read all of the books and watched all of the movies now. Some the kids have repeated.
Thinking of hosting a Harry Potter Party later this year :)

How do you get your Harry on?
~FriggleFraggle~

Wednesday, March 13, 2013

Tattered TuTu


Tattered TuTu

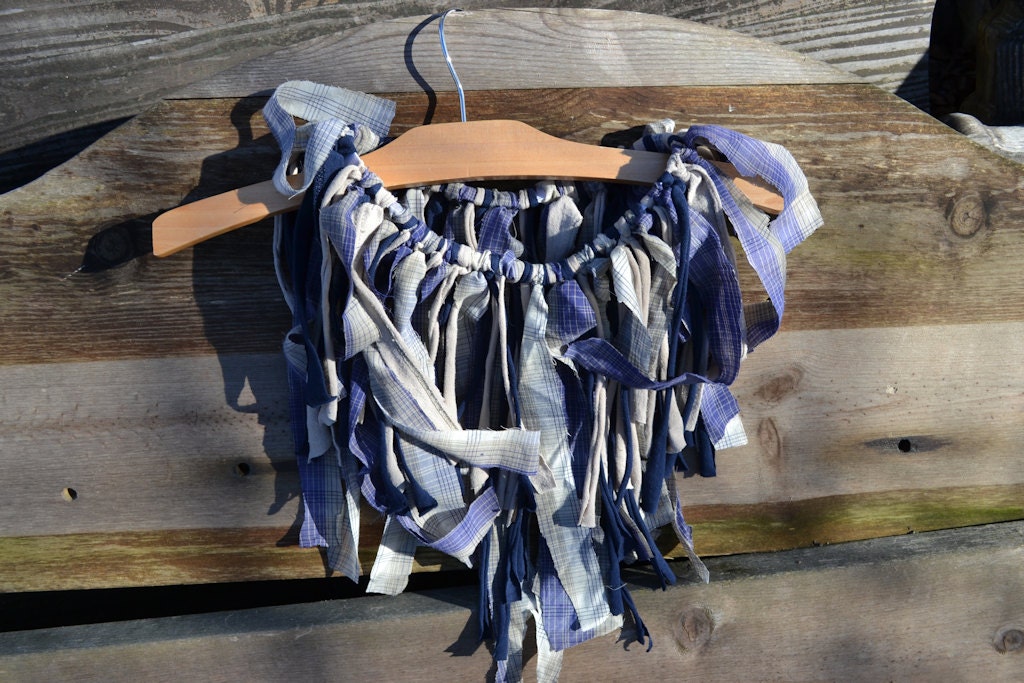
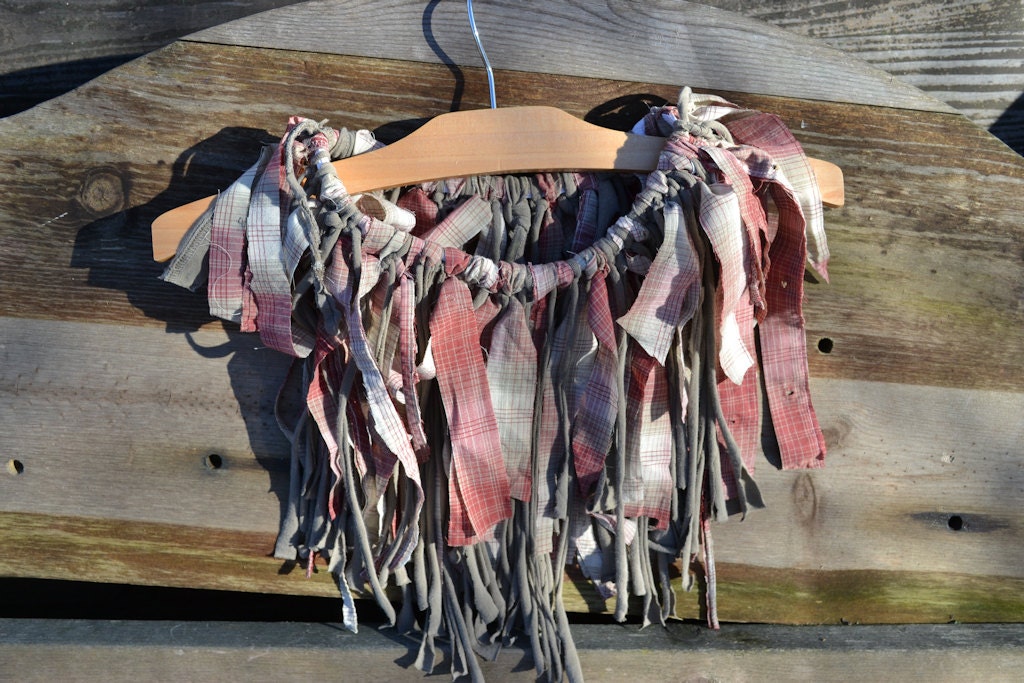
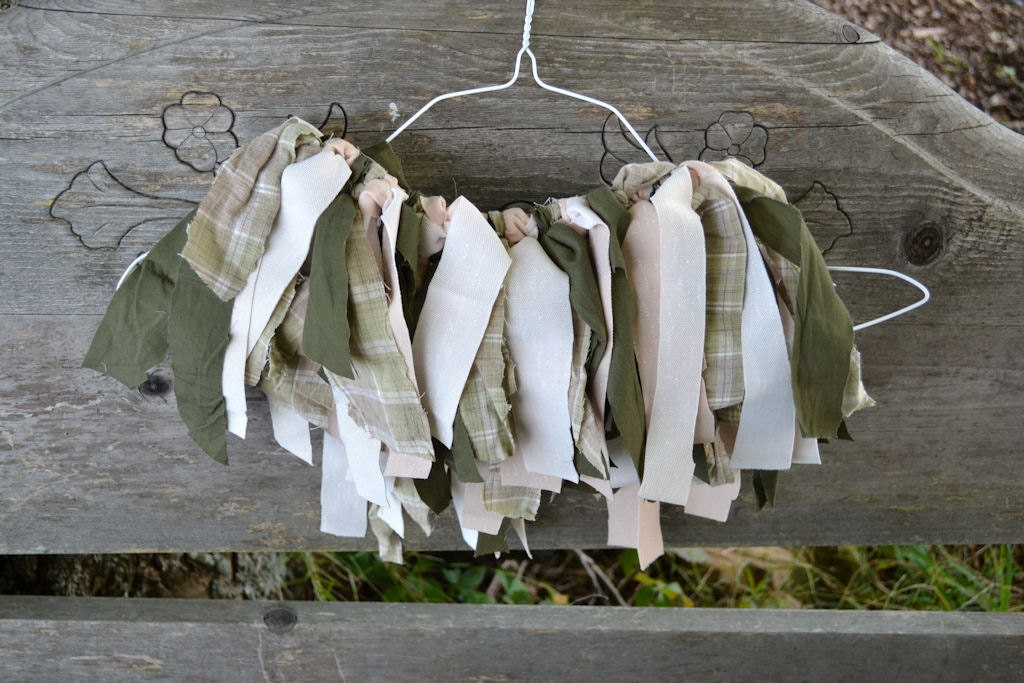
Here are some new skirts I have been working on. I love the mix of fabrics. 


I will be making more as I go through the old clothing.
These little skirts make me think of the new song by Macklemore "Thrift Shop" -I wear your Grandad's clothes, I look incredible.....

Each one is Handmade made by FriggleFraggle, so no two will be the same and will have its own personality with the stitches and placement of each piece of cloth.

I always welcome questions, so please ask them before you purchase! :)

~FriggleFraggle~
Follow me on Facebook

Tutorial: Pictures and Frames

 Hey there! I decided to add in a tutorial for the Salem Witch Academy frames just in case there is someone who needs a little help with tha...